How to connect Google Analytics to a Wordpress Site
- Go back to the Wordpress dashboard
- On the left-side menu, hover over “Settings,” and click “Google Analytics”
Sign up for Google Analytics
- In a new tab, sign up for Google Analytics by going here: https://www.google.com/analytics/
- In the top right corner click “Sign In” > “Analytics”
- Sign in with your email and password.
- After you have completed the signup process, scroll to the bottom of the page and click “Get Tracking ID”
- Write down your Tracking ID, you will need this to complete the setup of your Wordpress site.
Adding Google Analytics to your Wordpress Website
- Navigate back to your Wordpress dashboard
- Go to Settings > Google Analytics
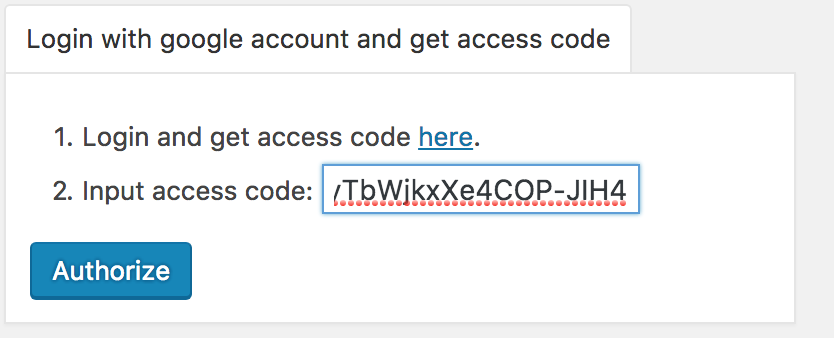
- Click “Login with google account to get access code” and follow the prompt
- Click the link to authorize Google
- Choose the account you used to setup your Google Analytics account
- Authorize access
- Copy the application key provided:

- Paste it in the Wordpress field titles Input access code like so and click “Authorize”

- You should now see fields like “Site Tracking Code” and “Custom Google Analytics Statistics inside Wordpress Dashboard” are now populated with your GA account information.
- Leave all settings to their defaults.
- Finally Click “Save Changes” and your Google Analytics account is linked to your new website.


